3D AI 試玩(NVIDIA get3d)
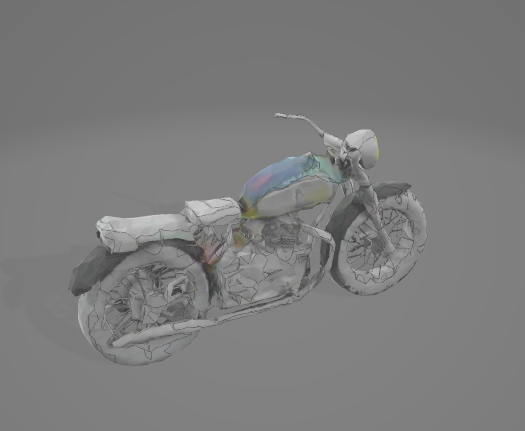
跑去玩了一下最近NVIDIA放出來的3D AI GET3D,可以用來產生有貼圖的模型(obj)檔案,目前出來的狀況非常慘,不確定是不是設定有錯誤就是了,這邊還是記錄一下執行的過程。
簡介
程式網址
https://github.com/nv-tlabs/GET3D
官方訓練模型
https://github.com/nv-tlabs/GET3D/tree/master/pretrained_model
總之先上結果檔案

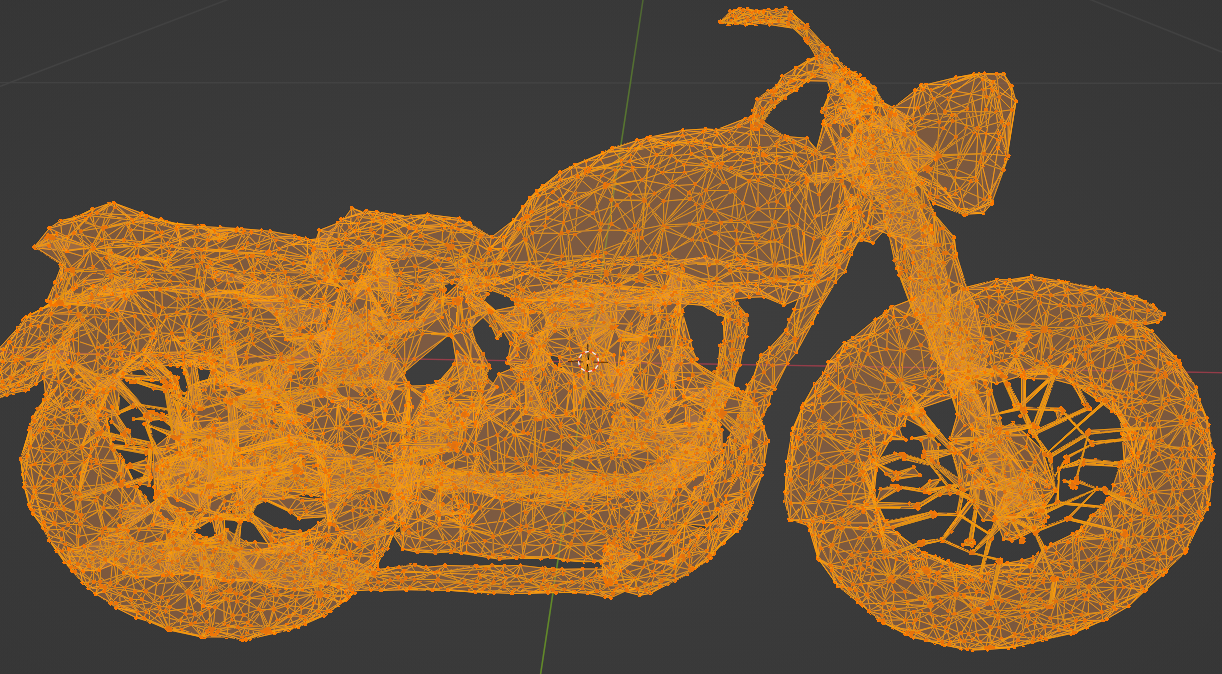
如果放進blender 3d來看的話點長這樣

下方記錄安裝並使用的過程,由於官方文件中推測要16GVRAM,電腦跑不動所以用colab執行方式。
colab網址 https://colab.research.google.com/
官方colab
可以直接使用官方建好的來執行,這邊是開了新的colab來跑。
進入https://github.com/nv-tlabs/GET3D/tree/master/pretrained_model
裡面有個建好的連結預先輸入好指令,找 We also proivde a Google Colab to try out our code here就可以看到了。
自行建立colab過程記錄
過程大幅參考(日文) https://note.com/npaka/n/n34786fb7131c
左上角 編輯->筆記本設定 將設定改成使用GPU
在筆記本喜歡的地方按[+程式碼],首先確認現在是使用GPU,輸入下方這段並按左方的執行(箭頭)按鈕。
!nvidia-smi
會跑出一個簡單的表格,可以檢查VRAM容量和版本等等,基本上有跑出GPU資料就表示設定沒問題。
接著在colab上安裝必要的東西,在程式碼中輸入以下這段並執行。
!git clone https://github.com/nv-tlabs/GET3D
%cd GET3D
!mkdir cache;
!wget https://api.ngc.nvidia.com/v2/models/nvidia/research/stylegan3/versions/1/files/metrics/inception-2015-12-05.pkl
!pip install torch==1.9.0+cu111 torchvision==0.10.0+cu111 torchaudio==0.9.0 -f https://download.pytorch.org/whl/torch_stable.html
!pip install ninja xatlas gdown
!pip install git+https://github.com/NVlabs/nvdiffrast/
!pip install meshzoo imageio gputil h5py point-cloud-utils imageio imageio-ffmpeg==0.4.4 pyspng==0.1.0
!pip install urllib3
!pip install scipy
!pip install click
!pip install tqdm
!pip install opencv-python==4.5.4.58
等安裝完成後輸入以下這段並執行。
!export PYTHONPATH=$PWD:$PYTHONPATH
!export CUDA_VISIBLE_DEVICES=0,
下載模型,輸入並執行。
!gdown --folder 1oJ-FmyVYjIwBZKDAQ4N1EEcE9dJjumdW
目前有這四種可以,可以去官方模型的位置查看有沒有變化。
- shapenet_table.pt : 桌子
- shapenet_motorbike.pt : 機車
- shapenet_chair.pt : 椅子
- shapenet_car.pt : 車
產生模型,輸入並執行就會開始產生,下面這段是產生機車的指令,需要產生其他種類把shapenet_motorbike換成其他種類的就可以了。
!python train_3d.py --outdir=save_inference_results/shapenet_motorbike --gpus=1 --batch=4 --gamma=40 --data_camera_mode shapenet_motorbike --dmtet_scale 1.0 --use_shapenet_split 1 --one_3d_generator 1 --fp32 0 --inference_vis 1 --resume_pretrain /content/GET3D/get3d_release/shapenet_motorbike.pt --inference_to_generate_textured_mesh 1
參數作用,可以自己調整來玩看看。
**--outdir** : 輸出資料夾
**--gpus** : GPU數量
**--batch** : 批輛大小
**--gamma** : R1 正則化權重
**--data_camera_mode** : 使用模型
**--dmtet_scale** : dmtet 規模
**--use_shapenet_split** : 学習分割
**--one_3d_generator** : 空物件切離斜度
**--fp32** : 混合精度
**--inference_vis** : 推論の実行
**--resume_pretrain** : pt檔案位置,不換模型就不動
**--inference_to_generate_textured_mesh** : 生成紋理網格
執行完成後在左方有個資料夾的圖案,點開後到剛才設定的位置下載模型。